Follow Our Blog

Our Awesome Followers

Powered by Blogger.

Wednesday, January 9, 2013

How To Get the Perfect Pout


Not sure the best way to get a long-lasting look on your lips? Here’s how:

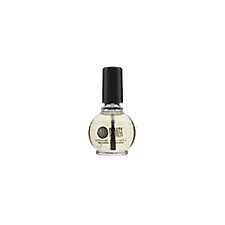
Start by putting on some lip balm at least five to 10 minutes before you plan to put on your lip liner, gloss and/or lipstick. I used a balm by Yes to Carrots.

Before you begin to put on your lip products, wipe off most of the lip balm. You want the balm to soften your lips, but not get in the way of your product sticking to your lips.

Start with lip liner to give your product something to stick to.

To line your lips, use short strokes to trace around the border of your lips. I usually start from the center and work outward.


When you’ve finished outlining the border of your lips, fill in your whole lip with the pencil.


Next, add your lipstick and/or lip gloss. Press your lips together as you go.


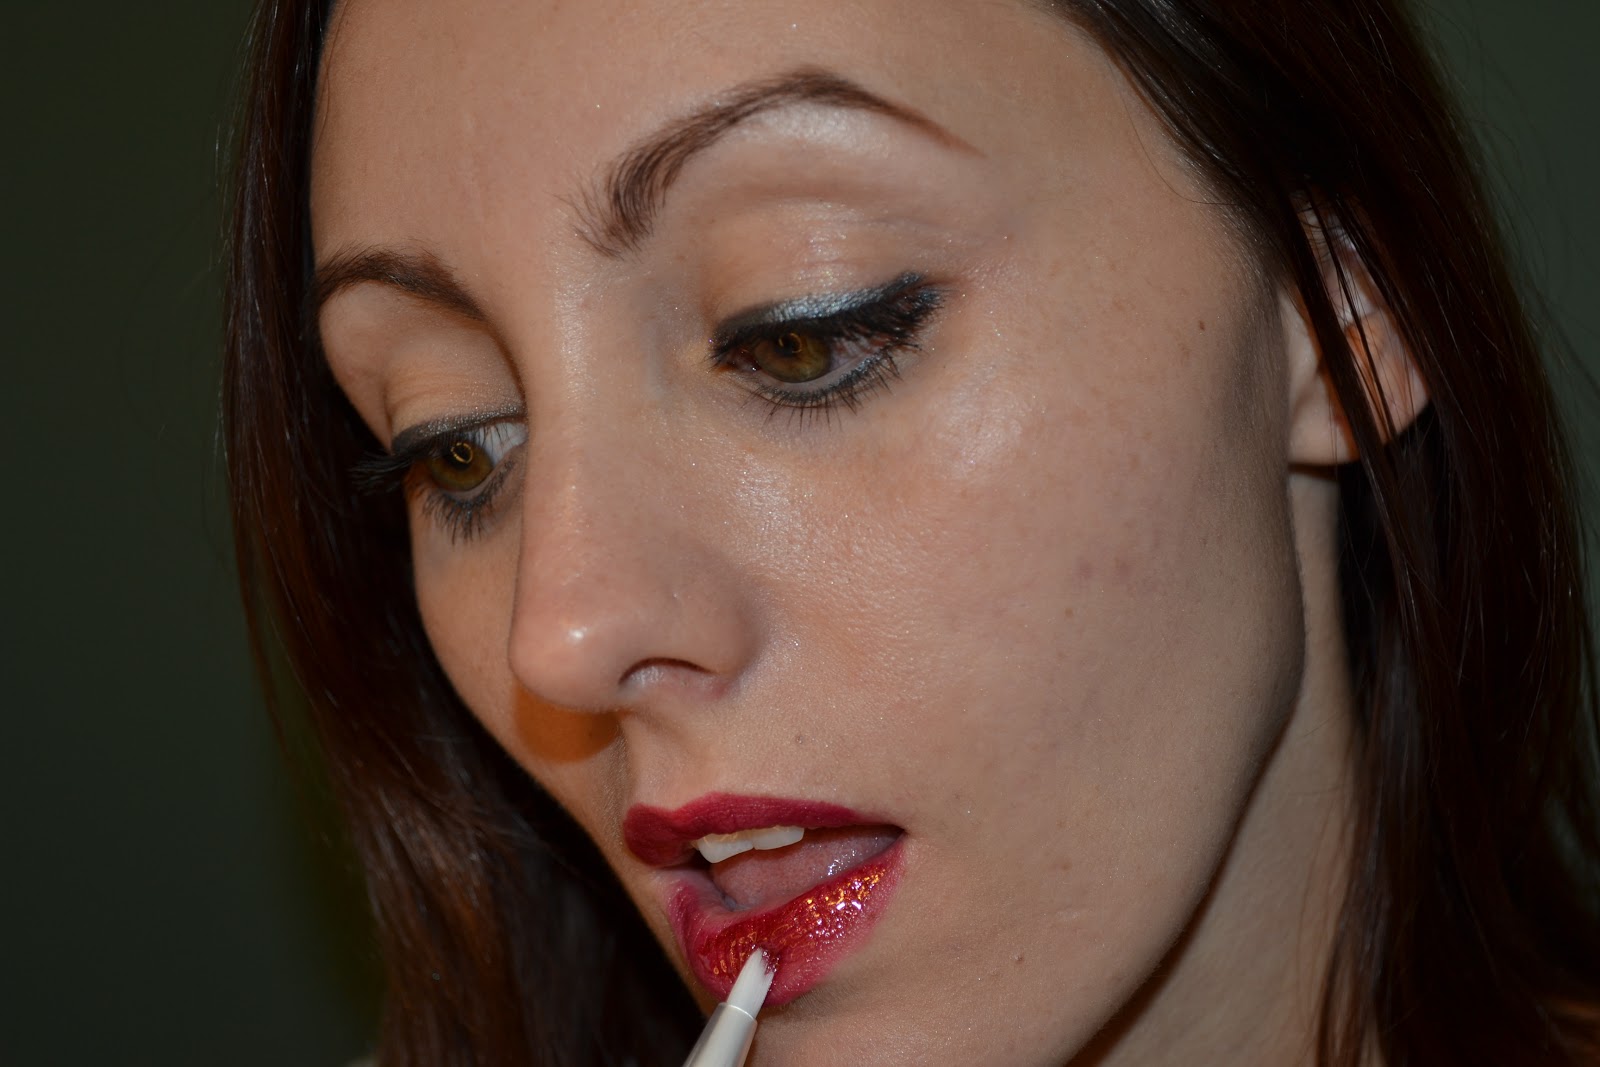
Use a cotton bud or bit of toilet paper to clean up any goofs.

All done!


For this look I used a Stila Lip Glaze, but you could always apply a lipstick then gloss over the top. If you apply a lipstick, try out this powder trick I posted about last year to help it last longer.

Enjoy your perfect pout!


Tuesday, January 8, 2013

Fitness Review: Jillian Michaels 30 Day Shred


During the winter months it is very hard for me to get motivated to workout. I'd much rather curl up with a good book with the fireplace going then drag myself to the gym. I recently purchased the Jillian Michaels 30 Day Shred for a quick solution that I could do at home. I've been adding it into my weekly routine about 1 to 2 times a week depending on my schedule. 


There are three different levels of workouts that all follow the same format: three different circuits that include three minutes of strength, two minutes of cardio and one minute of abs. There is a warmup and cool down to give you a complete workout. I really like the format because your heart gets pumping during the strength, goes crazy during the cardio and then you have about a minute to recover while doing abs before you start a new circuit.

I figured with small hand weights these exercises would be easy. I was proven wrong. I started out doing level one for a few weeks, moved up to level two and have tried the third level a few times. You can really tell the difference between the levels and they are all challenging no matter what stage of fitness you're at. 

There are two different people you can follow along with: advanced and intermediate. It's great becuase if you're not quite at the next level yet you can follow along with the intermediate routine and still get a great workout. I thought 20 minutes would not be a very effective workout but I was mistaken -- these workouts are not a joke! 

I don't think I could do this routine for 30 days straight like the DVD promotes becuase I get bored easily and need some new challenges. However, if you're fine with doing the same routines over and over again this would be a great training plan to start with without having to hire a personal trainer.  

If you're looking for a quick, effective workout you can do at home with just two hand weights and a little bit of room you should give this a try. I'm glad I have this to keep my workouts fresh and motivate me when I don't feel like going to the gym. 

Do you have any fitness DVDs you do at home and love? We're always looking for new workouts to add to our routine!


Monday, January 7, 2013

How To Fill in Your Brows


If you’ve never filled in your brows, you might not realize what an impact it can have on your overall look. Whether you’ve chosen minimal makeup or are dolling up for a party, filling in your brows helps frame your face and makes your face look finished. 

One of my favorite ways to fill in my brows is with powder. The result is a really soft and natural looking finish. Here’s how to do it:

Start with an angled brush.

Run the brush through your powder and begin with the part of your brow closest to your nose. I usually select a color noticeably lighter than my natural brow color. Using a dark brown color, like the color of my brows, is way too intense on my face.

Brush the hairs upward until you have the inner portion of the eyebrow completely filled in. Use light, even strokes.

Turn the brush and begin coloring outward. Make sure to accentuate the arch of your brow.

If you feel like your brows need a little extra length, feel free to use the brush to extend the shape a bit.

Use a brow gel to hold everything in place. Brush all the hairs upward with the gel wand. Then, brush the hairs to the side. Continue shaping your brows with the gel wand until they are all in shape you desire.

All done! 

What are some of your favorite brow products? Share in the comments!


Friday, January 4, 2013

Fashion: Official Color of 2013

 
I love when a color is named as the offical color of the New Year. What color is it this year for 2013? Emerald green. I loovveeee this color. Sadly I don't own anything in this color (yet) but what better push to find something than now?


1. Fitted Dress with Frill Shoulders from Zara - $59.99
2. Layering Shell from The Limited - $39.90
3. Collection Cashmere Mini-cable Sweater by J.Crew - $178
4. Sloan Pencil Skirt by Banana Republic - $ 79.50
5. Emerald Island Earrings by ModCloth - $7.99
6. 1969 Legging Skimmer Jeans by Gap - $36.99
7. Women's Chunky Sweater-Knit Gloves by Old Navy - $3.97
8. Tulle Double Breasted Cocoon Coat by Piperlime - $78.99
9. Sole Society 'Ophelia' Sandal by Nordstrom - $59.95
10. The Cambridge Satchen Company Large Classic Satchel by Urban Outfitters - $178
 
What do you think? Do you own anything emerald green? Do you plan on wearing it this year?


Thursday, January 3, 2013

How To: Pin Curls


Blame it on my new obsession with the show Mad Men (yes I know, I'm late to the party), but I’ve been crazy about doing my hair in curls and waves. If you don’t have a set of hot or Velcro rollers, don’t worry, because it’s really easy to get beautiful ‘60s curls with just a curling iron and some clips. Though it's not the traditional way of pin curling, this method will give you awesome retro hair!

Here’s what you need:
  • Mousse or root lifting spray
  • Curling iron
  • Clips or bobby pins
  • Hairspray
Here’s how to do it:

Before you dry your hair, massage in a mousse or root lifting spray and dry your hair either upside down or by lifting your hair with a paddle brush.

Create a deep side part in your hair and begin by sectioning off a part at the top of your head. If you want, you could backcomb each section to add even more volume to your hair.

Using a 1-inch curling iron, curl the first section of hair—be sure to hold for at least 20 – 30 seconds. Make sure to curl away from your face.


Once you’re done, softly release the curl and immediately roll it up and secure it to your head with a clip or bobby pin. Be very careful—your hair will be extremely hot.


Continue sectioning off, curling and pinning your hair until you’ve done your entire head. When you’ve finished curling and clipping, spray your entire head with hairspray.


Wait five to 10 minutes until all your hair has cooled. Then gently remove the clips from your hair, being sure not to pull or tug. When you remove the clips, you’ll wind up with something like this:


If you want to keep your hair full of curls, gently run your fingers through your hair and spray it with hairspray. Here’s how it looks:


If you want a more subdued look, softly run a paddle brush through your hair and mist it with hairspray. Here’s the final result:


This look is great to wear to work or for a fancy night out. Very glam! What’s your favorite retro hairstyle to wear?


Wednesday, January 2, 2013

Review: H2O+ Sea Salt Hydrating Body Gloss


I hope you all had a fun and safe New Year celebration! Another great gift I received from my future mother-in-law this year was a huge basket of H2O+ products. I love the H2O+ line and was thrilled to get a ton more new products to try out. One of my favorites in the basket was the Sea Salt Hydrating Body Gloss. This stuff is amazing. 


I suffer from extremely dry skin in the winter. Even when I used a ton of expensive thick creams and lotions nothing really seemed to do the trick -- until now. This body gloss goes on like an oil but isn't sticky at all and makes my skin instantly smooth. I spray it on as soon as I get out of the shower and it dries instantly leaving me with silky smooth, great smelling, soft skin. 

I love the spray applicator on this product. It makes it so easy to apply and doesn't leave a mess. I've used baby oil, coconut oil and vitamin E oil on my skin before, and while they are great hydrators, they all left a huge mess for me to clean up afterwards. Not something I want to deal with -- especially if I'm in a rush!

The scent of the body gloss is amazing. It reminds me of a day at the spa and isn't overwhelming at all. It gives a great glossy look to my skin -- I can't wait for the summer months so that I can show off my hydrated legs. 

Have you tried any of the H2O+ products before? What are your favorite products for battling dry skin? 


Tuesday, January 1, 2013

Giving Yourself The Perfect Manicure


I don’t know about you, but I can’t stand when my nails and cuticles look ragged and unkempt. Though I don’t often put polish on my fingernails, my toenails are never bare. But I don’t just slap on a coat of nail polish, there’s a lot more that I do beforehand. Here’s how to keep your nails looking great:

What you’ll need:


Nail file – medium grain
Washable Nail File, Medium Fine

Nail file – coarse/fine grain
A product thumbnail of Rudolph International Coarse/Fine Nail File

Stainless steel nail file (with pointed end)

Wooden manicure stick
A product thumbnail of Ultra Birchwood Stick

Double-sided metal cuticle pusher
A product thumbnail of "Pushy" Cuticle Pusher

Buffing block
A product thumbnail of Four-Sided Acrylic Soft Buffer

Cuticle oil or Vitamin E serum (I use Beauty Matrix Nail Fortifier)
A product thumbnail of Beauty Secrets Nail Matrix

  1. First of all, you’ll want to take care of your nails after you’ve showered or bathed. This will ensure that your cuticles are soft. Start by using your wooden manicure stick to gently push back your cuticles.
  2. Then, take your double-sided metal cuticle pusher and softly run it along the sides of your nails toward your cuticles and around the perimeter of your cuticle. This will help remove any cuticle remnants that might have grown with your nails.
  3. Using your medium grain nail file, file your nails down to your desired length. I usually file mine in a square shape with rounded corners. I never, ever use nail clipper on my nails. I just make sure to take care of my nails often so I don’t have to file them down too much.
  4. Next, take your stainless steel nail file and run the pointed edge under your nails. This will remove any debris as well as bits of nail from the filing process. You can then use your fine grain or stainless steel nail file to smooth out the edges of your nails.
  5. Use your buffing block to smooth out any ridges on your nails.
  6. Massage cuticle oil or Vitamin E serum into your cuticles and nails.

I use the same exact process for both my fingernails and toes. If I’m going to be applying a colored nail polish, I first apply a ridge filling polish (I use Bridge the Ridge Nail Treatment), a base coat (I use OPI Natural Nail Base Coat), then the nail polish. If not, I usually just put a clear polish on my nails. My favorite is Sally Hansen Hard as Nails.

Here’s to pretty nails!